Hello, I’m Mana. In this article, I’ll整理 what I learned while studying for the Sake Certification—especially the sake brewing process.
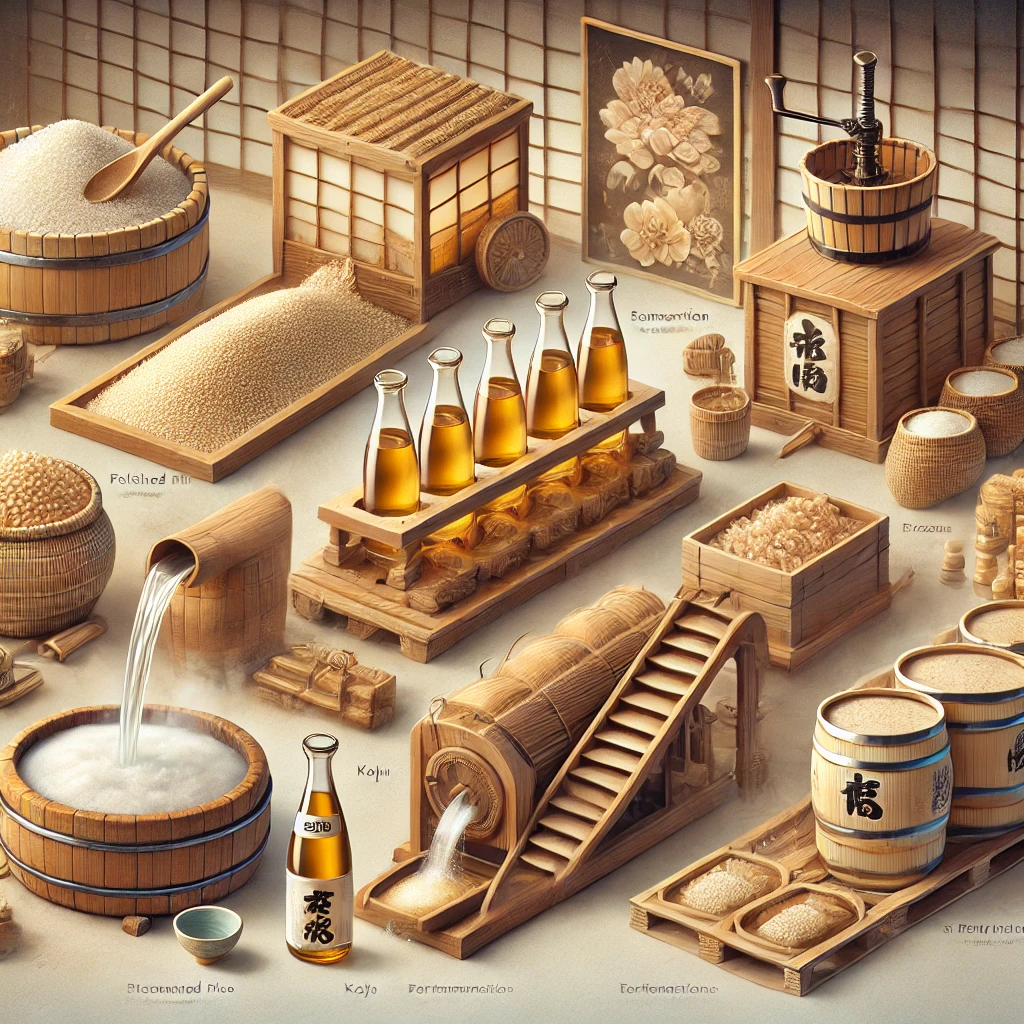
Sake is made from simple ingredients—rice and water—but behind that simplicity is a very detailed, carefully controlled series of steps. Let’s go through the full overview of how sake is made, in order.
- 1. Rice Polishing: Preparing the Foundation of Flavor
- 2. Koji Making: Preparing to Convert Rice into Sugar
- 3. Yeast Starter: Cultivating Yeast for Stable Fermentation
- 4. Moromi: The Stage Where Parallel Multiple Fermentation Happens
- 5. Pressing: Separating Sake from Sake Lees
- 6. Pasteurization and Storage: Stabilizing Quality
- 7. Bottling and Final Adjustments
- Summary
- ▶ Next Article
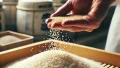
1. Rice Polishing: Preparing the Foundation of Flavor
In sake brewing, a special type of rice called sakamai (sake-brewing rice) is often used. But it isn’t used as-is—first, it goes through rice polishing. During polishing, the outer layers of the rice are milled away, because they contain higher amounts of proteins and lipids, which can lead to unwanted flavors.
The degree of polishing is expressed as the rice polishing ratio (seimai-buai). A polishing ratio of 60% means that 40% of the original rice grain has been milled away. In general, the lower the ratio (the more the rice is polished), the cleaner and more delicate the flavor tends to be, often with a more aromatic profile. On the other hand, if the rice is polished less, you may notice more rice-derived richness and umami.
After polishing, the rice warms up due to friction, so it is rested for a period of time in a step called karashi. This allows moisture and temperature to stabilize—an important step for consistent quality.
2. Koji Making: Preparing to Convert Rice into Sugar
Next is koji making (seigiku). Koji mold is sprinkled onto steamed rice, and over about two days, the mold is cultivated. The key role of koji is to produce enzymes that break down starch into sugars. This process is called saccharification.
Sake brewing mainly uses yellow koji mold. The rice is carefully managed in a special room called a koji-muro, where temperature and humidity are controlled. Through tasks such as mixing and breaking up the rice (kirikaeshi), the koji is developed into its final form.
There are different “styles” of koji growth, such as sohaze and tsukihaze. Sohaze means the mold spreads widely through the grain, creating strong saccharification power. Tsukihaze controls how the mold penetrates, and is often used for ginjo-style sake. Which style a brewery aims for affects the overall design of the sake.
3. Yeast Starter: Cultivating Yeast for Stable Fermentation
Next comes the yeast starter (shubo) stage. The yeast starter is made to grow a large, healthy population of yeast and to create a stable environment for fermentation. The quality of the yeast starter has a major impact on the final sake.
There are two major approaches:
- Sokujo-moto: A method that adds lactic acid to quickly create a stable starter.
- Kimoto: A traditional method that relies on naturally occurring lactic acid bacteria, taking more time to develop.
Making a yeast starter usually takes about two weeks to one month. During this time, the yeast multiplies and the brewery prepares for the main fermentation.
4. Moromi: The Stage Where Parallel Multiple Fermentation Happens
The main mash is called moromi. This stage begins when koji, steamed rice, and water are added to the yeast starter. Here, sake’s signature process—parallel multiple fermentation—takes place. Saccharification (starch to sugar) and alcoholic fermentation (sugar to alcohol) proceed at the same time. This is the core of sake brewing.
Moromi is typically built up using three-stage additions (san-dan-jikomi), where ingredients are added in three rounds:
- Hatsuzoe (first addition)
- Nakazoe (second addition)
- Tomezoe (final addition)
Fermentation continues for about 3 to 5 weeks, and the alcohol level rises to around 15%. Fermentation management is extremely important—especially temperature control, which can greatly change aroma and flavor.
Also, sweetness or dryness is not determined only by fermentation time. Multiple factors are involved, such as the Sake Meter Value (specific gravity), acidity, and residual sugar.
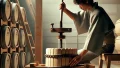
5. Pressing: Separating Sake from Sake Lees
After fermentation, the moromi is pressed in a step called joso (pressing). This can be done with a press machine, or with methods such as fukuro-tsuri (bag hanging). In this step, the liquid sake is separated from the solids, which become sake lees (sake-kasu).
6. Pasteurization and Storage: Stabilizing Quality
The pressed sake is often heat-treated in a process called hiire (pasteurization). By heating it to around 60–65°C, yeast and enzymes are deactivated, helping stabilize the sake’s quality.
After that, the sake is stored for a certain period to let the flavors settle. Sake that has been aged for a long time is sometimes called koshu (aged sake).
7. Bottling and Final Adjustments
Finally, blending and/or water adjustment (warimizu) may be done to set the alcohol level. If needed, pasteurization is performed again, and then the sake is bottled and shipped. This completes the brewing process.
Summary
The sake brewing process includes many stages—from rice polishing to bottling. Koji-driven saccharification, yeast fermentation, parallel multiple fermentation, and three-stage additions all work together to shape the final flavor.
Once you understand the full flow, it becomes much easier to organize the technical terms and see how everything connects. Next, let’s take a closer look at each step in more detail.
▶ Next Article
So far, we’ve整理 the overall flow of the sake brewing process.
Next, we’ll go one step deeper into the heart of sake brewing: parallel multiple fermentation.
What Is Parallel Multiple Fermentation? A Friendly Deep Dive into the Sake Brewing Process
Why does sake often reach a higher alcohol content? Once you understand the mechanism, the entire brewing process becomes much clearer.
Comment